CloudPanel is an opensource alternative to paid solutions that allows you to easily install the LEMP stack (Linux, Nginx, MySQL and PHP) on your VPS or cloud server.
According to the official documentation, CloudPanel is a free and modern control panel for server configuration and management with a focus on simplicity.
CloudPanel was originally developed by MGT-COMMERCE GmbH, a Berlin-based company, more than a decade ago exclusively to provide optimized hosting for Magento sites in the AWS cloud.
This free control panel has now evolved into one of the most powerful panels for Nginx servers, compatible with a wide range of PHP, Node.js, Static Websites and Python applications. In doing so, it has become more flexible.
In fact, with CloudPanel you can run any of your favorite applications on any cloud or dedicated server within minutes. Currently, CloudPanel only supports Linux distributions — Debian 11 and Ubuntu 22.04.
Installing CloudPanel is quite simple and easy.
Before we start the installation, let's see what CloudPanel offers:
| Service | Version | |
|---|---|---|
| NGINX | 1.21 | with PageSpeed module |
| MySQL | 8.0 | |
| MariaDB | 10.6, 10.8 | |
| PHP | 7.1-8.1 | |
| Redis | 6 | |
| ProFTPD | 1.3 | |
| Node.js | 12, 14, 16 | Versions LTS |
| Yarn | 1.22 | |
| Python | 3.10 |
| Service | Version | |
|---|---|---|
| NGINX | 1.21 | with PageSpeed module |
| MySQL | 5.7, 8.0 | |
| MariaDB | 10.7, 10.8 | |
| PHP | 7.1-8.1 | |
| Redis | 6 | |
| ProFTPD | 1.3 | |
| Node.js | 12, 14, 16 | Versions LTS |
| Yarn | 1.22 | |
| Python | 3.9 |
Technical Requirements:
- Ubuntu 22.04 (Jammy Jellyfish) or Debian 11 (Bullseye)
- >= 1 CPU
- >= 2 GB RAM
- >= 10 GB Disk Space
In this tutorial we will be using the Debian 11 distribution.
INSTALLATION
Connect via ssh to your server. Open a terminal and enter the command:
ssh root@XXX.XXX.XXX.XXX
Before running the installer, you will need to update your system and install the necessary packages.
apt update && apt -y upgrade && apt -y install curl wget sudo
Next, run the installer with your preferred database engine.
curl -sSL https://installer.cloudpanel.io/ce/v2/install.sh | sudo bash
curl -sSL https://installer.cloudpanel.io/ce/v2/install.sh | sudo DB_ENGINE=MARIADB_10.8 bash
curl -sSL https://installer.cloudpanel.io/ce/v2/install.sh | sudo DB_ENGINE=MARIADB_10.6 bash
curl -sSL https://installer.cloudpanel.io/ce/v2/install.sh | sudo bash
curl -sSL https://installer.cloudpanel.io/ce/v2/install.sh | sudo DB_ENGINE=MYSQL_5.7 bash
curl -sSL https://installer.cloudpanel.io/ce/v2/install.sh | sudo DB_ENGINE=MARIADB_10.8 bash
curl -sSL https://installer.cloudpanel.io/ce/v2/install.sh | sudo DB_ENGINE=MARIADB_10.7 bash
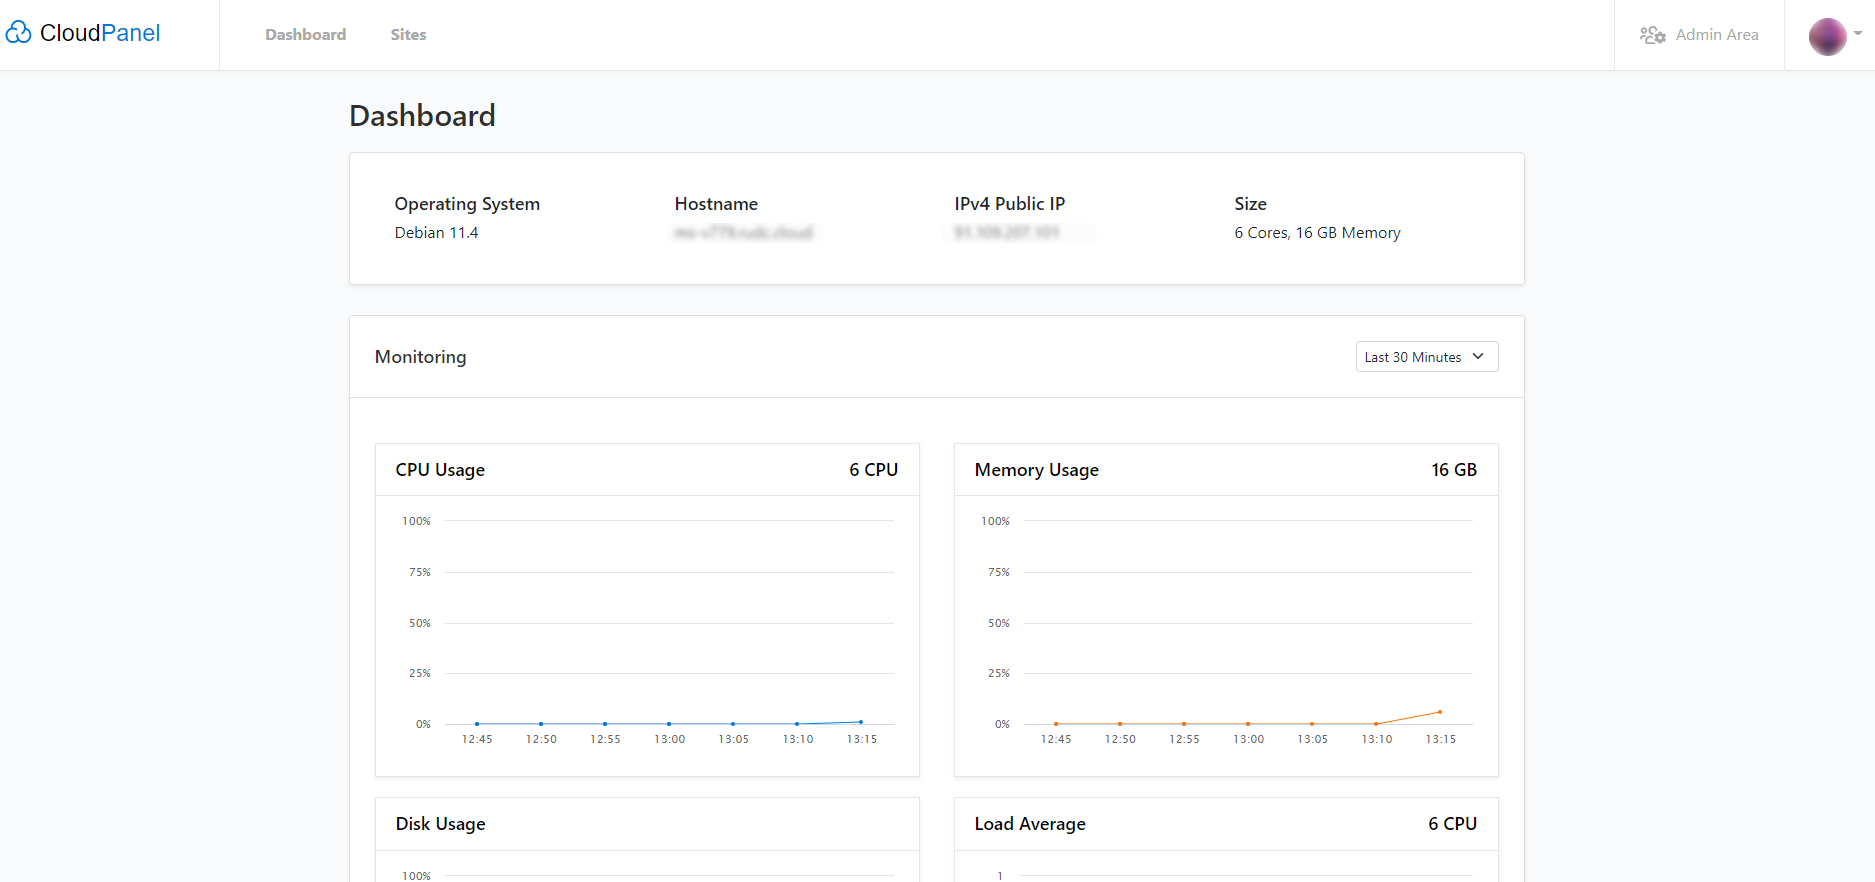
This completes the installation. You can now access CloudPanel through your browser: https://XXX.XXX.XXX.XXX:8443.
Ignore the warning about the self-signed certificate and click on "Advanced" and "Go to site..." to continue working with CloudPanel.
Then fill in all the details: name, email, username and password.
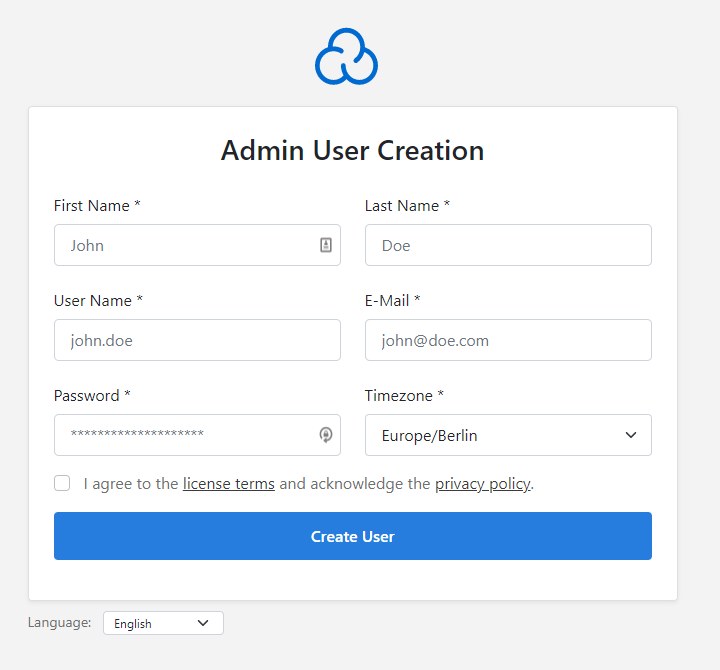
Make sure you agree to the terms and conditions and privacy policy and click "Create user".
That's it! Now you can log in to CloudPanel.