With this tutorial, you will learn how to install a so-called LAMP stack on a virtual server.
LAMP — is a software suite that includes:
- Linux;
- Apache;
- MySQL;
- PHP.
As a result, after installing it, you will be able to launch your own website.
We will use a virtual server, ATLEX-VPS-5 tariff, 16 GB RAM and 160 GB SSD-drive. But for most initial tasks (blog, business card site) and not very loaded projects a simpler configuration ATLEX-VPS-1 will do. As an operating system we use the Linux distribution Ubuntu 20.04.
First, let's understand what it takes to run a website. Each site for its work requires various components. These are usually a web server, programming language support for the site, and database support. In this tutorial we will show you how to install Apache web server, PHP language support and MySQL database support.
SSH CONFIGURATION
We will perform all steps through the command line using the SSH protocol. You need to know your IP address, username and password. The data for connection will be sent to you in the email when ordering a virtual server.
Open a terminal (command prompt) on your local computer and enter the command to connect.
shh root@XXX.XXX.XXX.XXX
Instead of XXX.XXX.XXX.XXX, enter the address of your server.
If you are connecting for the first time, this message may appear:
The authenticity of host 'XXX.XXX.XXX.XXX (XXX.XXX.XXX.XXX)' can't be established. RSA key fingerprint is SHA256:YaaqERsh9oMs/Qa5nlMJLlb4ewlJDGLaDGsuOcDzOs8. Are you sure you want to continue connecting (yes/no/[fingerprint])? yes
Just press 'yes' or the letter 'y', you will be prompted to enter your password.
When entering a password, no characters are displayed on the screen, this is for security reasons.
Warning: Permanently added 'XXX.XXX.XXX.XXX' (RSA) to the list of known hosts. root@ip_XXX.XXX.XXX.XXX's password:
Enter the password and press 'Enter'.
After connecting to the server, you are taken to the command prompt on the server itself, meaning the system that is installed on the server.
Before installing any components, it is recommended that you upgrade your system to the latest up-to-date version.
Execute the following commands in a row:
apt update
apt upgrade
The system update will begin.
Next you need to reboot the server, this can be done with the reboot command.
Before you move on to installing LAMP, perform the initial configuration of the server.
You are now connected as root, but this is not completely secure, so you should create a non-privileged user.
To do this, run the adduser username command, for example:
adduser atlex
Next, you need to enter the password for that user twice.
Be sure to memorize the password or save it in a safe place.
You will then be prompted to enter some user details (full name, phone number, etc.), but all of this can be left blank by pressing 'enter' each time.
So, you have created a user, but he doesn't have administrator rights. To give it root privileges, you need to add it to the sudo group.
Execute the command:
usermod -aG sudo atlex
UFW FIREWALL CONFIGURATION
To improve server security we will use the popular and very easy to configure UFW firewall. Different applications can for UFW register their own profiles, i.e. ready-made sets of security settings that can be activated. Let's display the list of current profiles with the command:
sudo ufw app list
Available applications:
OpenSSH
In our case, the OpenSSH service profile is now available, which allows you to connect to the server via SSH.
Activate this service with the command:
ufw allow OpenSSH
Rules updated
Rules updated (v6)
Then activate the firewall itself with the command:
ufw enable
A warning appears that the current connection may be interrupted:
Command may disrupt existing ssh connections. Proceed with operation (y|n)?
But since you have enabled OpenSSH, don't bother and type 'y' and press 'Enter'.
Firewall is active and enabled on system startup
You can check the status of the firewall with the command:
ufw status
You can see that it is active and the OpenSSH profile is active:
Status: active
To Action From
-- ------ ----
OpenSSH ALLOW Anywhere
OpenSSH (v6) ALLOW Anywhere (v6)
You have allowed only SSH connections, and the firewall is now blocking all other connections. Later, you will allow HTTP connections to open the site.
Now a very important point: you need to connect via SSH, but not under the root user, but under the atlex user you just created.
To do this, don't close your current SSH connection to root just yet, but open a new terminal window and connect in it, just in case you suddenly have problems and could fix them.
In the new terminal window, type the command:
ssh atlex@XXX.XXX.XXX.XXX
Enter the password for the atlex user.
If everything was successful, you will be prompted to enter commands, but you will be working under the atlex user, and all administrative commands will have to be executed via sudo, i.e. before each command you will enter 'sudo' and the command itself.
The SSH session with the root user can be closed by entering the 'exit' command.
APACHE WEB SERVER INSTALLATION
Now install the Apache web server. To do this, run the command:
sudo apt install apache2
Before testing it, make changes to the firewall.
Display a list of profiles:
sudo ufw app list
You will see that in addition to OpenSSH, 3 new Apache profiles have been added. Each of these profiles contains a set of settings:
- Apache — opens port
80, which is used by the http protocol; - Apache Full — opens ports
80and443, which are used by http and https protocols; - Apache Secure — opens port
443only.
You should apply Apache Full to allow both http and https traffic.
To activate the profile, run the command:
sudo ufw allow in "Apache Full"
Rule added
Rule added (v6)
After that, you can check how Apache works and open the default site.
To do this, open your browser and enter the IP address of the server. The following information page will open:
In fact, it is already a working website consisting of a single HTML page.
MYSQL DATABASE SUPPORT INSTALLATION
Install MySQL database support.
Run the command:
sudo apt install mysql-server
After the installation is complete, it is recommended to run a special script that will help you set various security settings. To do this, run the command:
sudo mysql_secure_installation
Next, a few queries need to be answered. The first is to enable the VALIDATE PASSWORD plugin, which is used to prevent simple passwords from being used when setting MySQL database passwords. To enable it, type 'y' and press 'enter'.
The next step asks you to set the degree of password validation:
There are three levels of password validation policy:
LOW Length >= 8
MEDIUM Length >= 8, numeric, mixed case, and special characters
STRONG Length >= 8, numeric, mixed case, special characters and dictionary
file
Please enter 0 = LOW, 1 = MEDIUM and 2 = STRONG:
Select medium: enter 1 and press 'enter'.
Next, enter a strong password and confirm it.
Note: This is the password for the root user specifically for MySQL, and has nothing to do with the root user you have on your system.
All subsequent questions can be answered with 'y' and press 'enter':
- request to remove an anonymous user,
- request to disable remote authorization of the root user,
- deleting the test database.
When finished, there will be a prompt to activate the settings and customizations you made.
As a result you will get a message:
Success.
All done!
PHP LANGUAGE SUPPORT INSTALLATION
The next step is to install support for the PHP language. You need to install three packages:
- PHP
- libapache2-mod-php — a module that allows you to process PHP files,
- php-mysql — allows PHP to communicate with MySQL.
sudo apt install php libapache2-mod-php php-mysql
This completes the installation of LAMP.
But before you can launch your site, you need to create a virtual host for it. Create a directory for your site and set the settings for your host.
Run the command:
sudo mkdir /var/www/mysite
Instead of mysite, specify the domain of your site.
You created the directory using sudo, i.e. under the root user. Change the permissions and group for this directory to belong to your atlex user.
sudo chown -R $USER:$USER /var/www/mysite
Next, you need to create a configuration file for your virtual host. Configuration files are stored in the /etc/apache2/sites-available. Open the console text editor nano and create a configuration file. Run the command:
sudo nano /etc/apache2/sites-available/mysite.conf
Insert the following code:
<VirtualHost *:80>
ServerName ip_адрес_сервера
ServerAlias ip_адрес_сервера
ServerAdmin atlex@localhost
DocumentRoot /var/www/mysite
ErrorLog ${APACHE_LOG_DIR}/error.log
CustomLog ${APACHE_LOG_DIR}/access.log combined
</VirtualHost>
Note, for ServerName we have specified the IP address of our server, if you have a domain you should specify it.
Exit the nano editor by pressing Ctrl + X, and enter 'yes' to save the file.
To have your virtual host activated by the web server, run the command:
sudo a2ensite mysite
You must restart the server for the changes to take effect. Run the command:
sudo systemctl reload apache2
Create a test page in your directory where your site files should be located. Use the nano text editor again:
nano /var/www/mysite/index.php
And in it, add the following code:
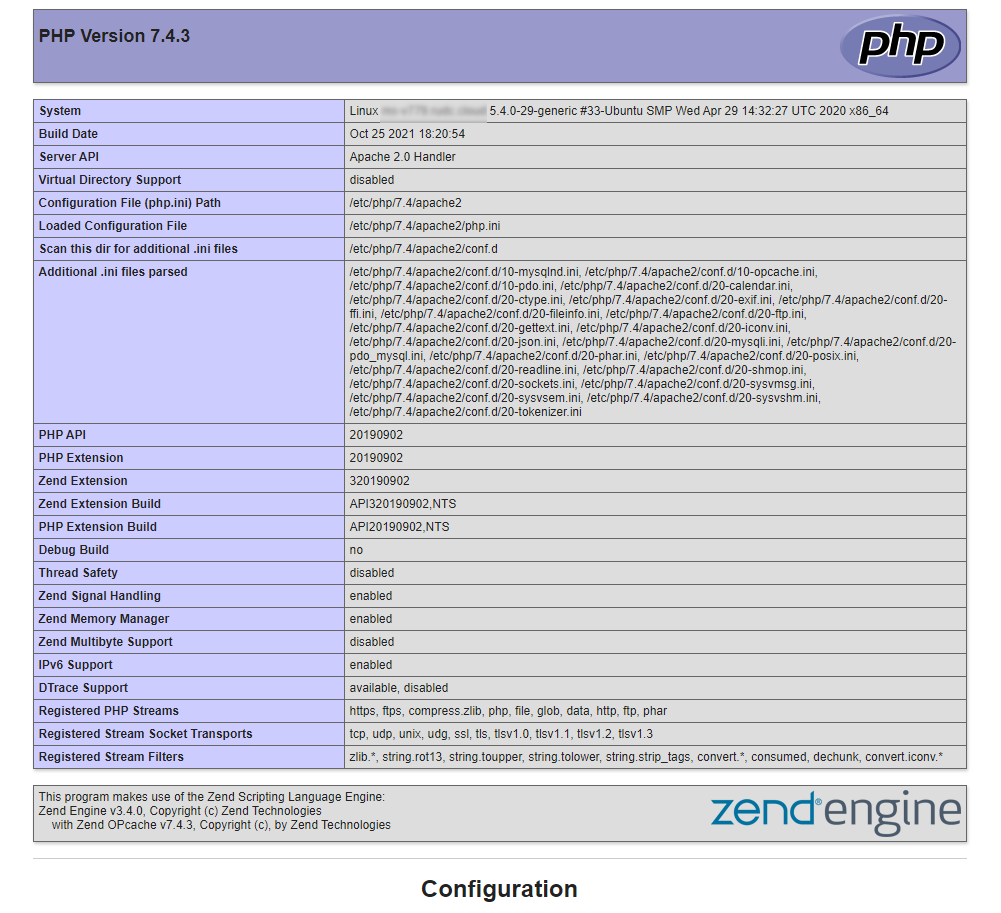
<?php
phpinfo();
This is a PHP function that will display detailed information about the current php configuration. Type the IP address of your server into the address bar of your browser and you will see that you get a page with PHP configuration informatio
We've covered the basic steps of installing Apache, PHP, MySQL and learned how to create virtual hosts. Now you can install almost any CMS and launch your online business or blog.