All servers we offer for rent are equipped with an IPMI (Intelligent Platform Management Interface) controller , which allows you to turn on, turn off, remote connection (KVM) with the ability to mount ISO-images, as well as providing access to information about the current state of the server.
With IPMI you can install the operating system and initial configuration of the server after server is handed over. Since the IPMI controller is connected by a separate cable and has its own IP address, even if you lose access to the OS, you can always manage the server remotely without the need for direct physical access.
How to install the OS?
To install the operating system, you will need to connect to the IPMI server in one of the ways convenient for you: through the Web-interface or using the IPMIView program. Both options will be described in this article, but we recommend using the second method.
By default, access to IPMI is denied for security reasons. To work with your server's IPMI, you need to add your IP address to the list of allowed IP addresses in your personal cabinet. For more details on how to do this, please refer to our instructions: https://www.atlex.ru/knowledge-base/guides/managing-access-to-ipmi/
Web-interface
To connect via Web-interface, enter the IPMI address in the address bar of your browser and authorize. You can find the address and authorization details in the email with access to the server or in your personal account. Then you will need to go to the tab Remote Control -> Console Redirection and press the button Launch Console.

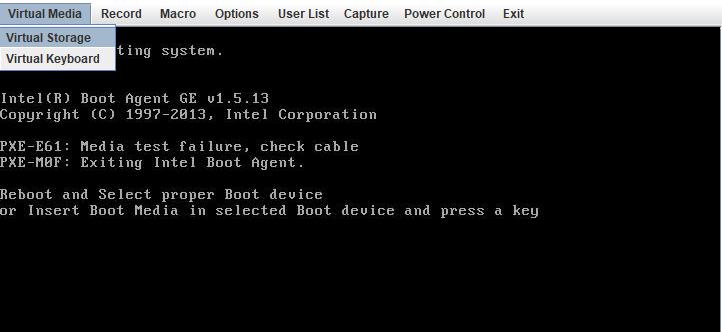
You will be prompted to save the Java file. After downloading, run it and confirm the security exception. In the window that opens, select Virtual Media -> Virtual Storage.
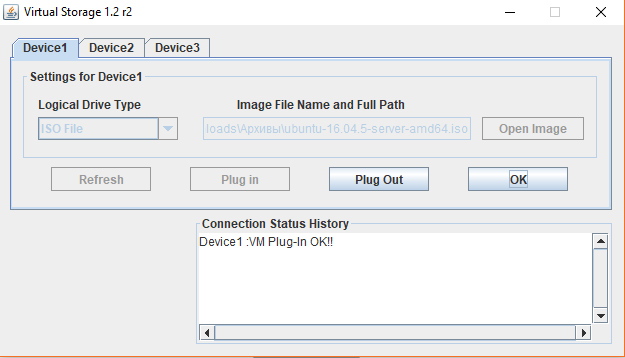
Under Device 1, select ISO File from the Logical Drive Type drop-down list and specify the path to the image on your disk using the Open Image button, then connect the image using the Plug In button.
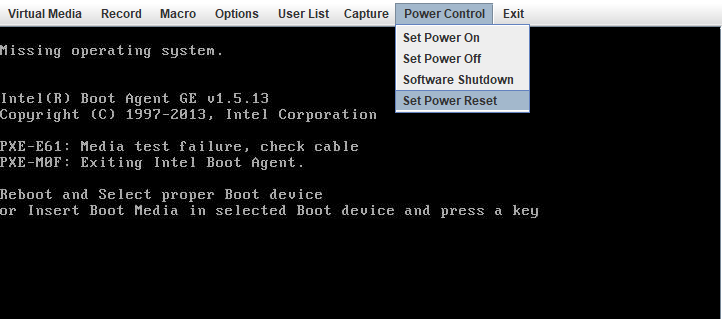
After connecting the image, reboot your server under Power Control -> Set Power Reset.
Some servers allow you to connect up to three devices using the Device 2 or Device 3 tabs under Virtual Media -> Virtual Storage. This can be useful if additional drivers need to be installed during installation.
If you plan to install Windows OS on the server, the Ctrl+Alt+Del key combination can be passed under Macro - Macro.
Instructions for working with the Web-interface in older versions of IPMI firmware
IPMIView
To use the Supermicro IPMIView program, you need to download it from the official website, specifying your data, or directly from the ftp server: https://www.supermicro.com/wftp/utility/IPMIView/
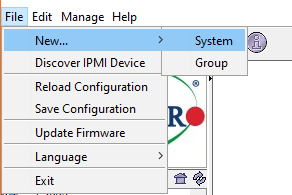
After installing and running the program, you need to add your server under File - New - System.
In System Name enter the name of your server, and in IP address enter the IPMI address, which you can find in the letter with access to the server or in your personal cabinet. Make sure there are no spaces at the end of the line in the address column and press OK.
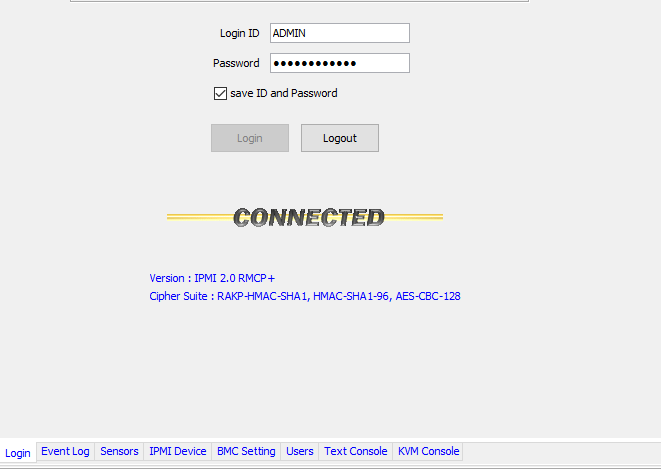
In the list on the left, double-click on the name of the added server, after which you will see an authorization window. Fill it out using the details from your e-mail or personal cabinet and click Login. In case of successful connection you will see the inscription Connected, and at the very bottom of the window you will see additional tabs for server management.
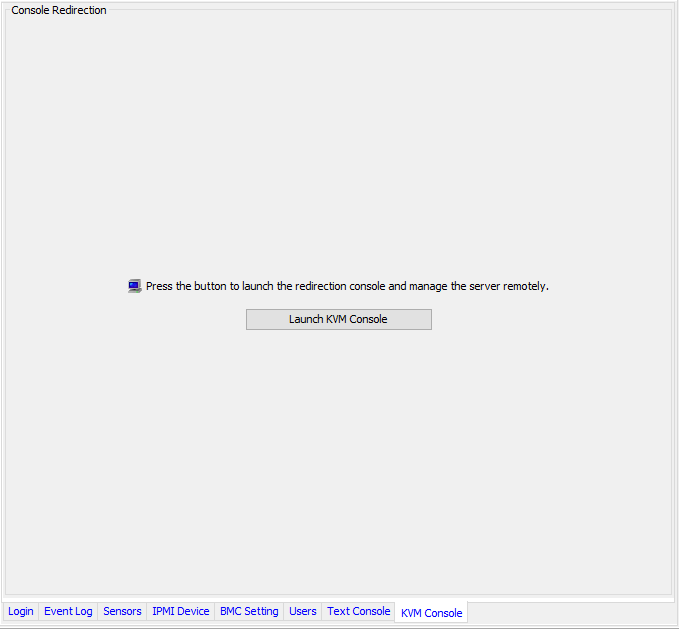
To remotely manage the server, go to the KVM Console section and click Launch KVM Console.
Further actions are similar to working through the Web-interface.
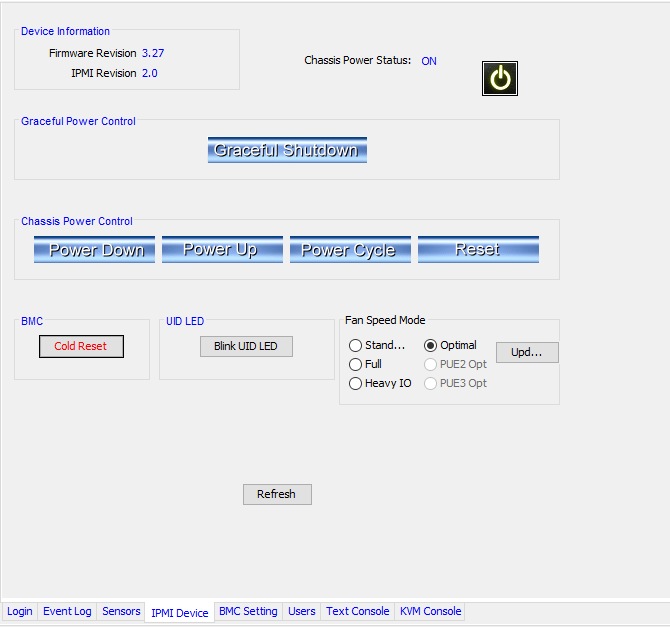
Using the IPMIView program, you can also reboot, power on or power off your server under the IPMI Device.
Comments