
This guide is intended for ATLEX company clients who have purchased a virtual hosting service and want to set up corporate email on their domain. Email with your own domain looks professional and increases trust in your business. In this guide, you will find a detailed description of all stages of creating an email account in the cPanel control panel. By following our recommendations, you can quickly set up and start using corporate email on your domain.
As an example in this guide, we will use the domain your-domain.ru.
Step 1: Logging into the cPanel Control Panel
-
Open your web browser and go to: https://www.atlex.ru/my-account/
-
Select the
"Hosting Panel"section. -
Enter your access credentials that you received in an email when activating the virtual hosting service.
-
Click the
"Login"button.
Step 2: Going to the Email Accounts Management Section
- In the cPanel control panel, find the
"Email"section. - Click on the
Email Accountsicon.
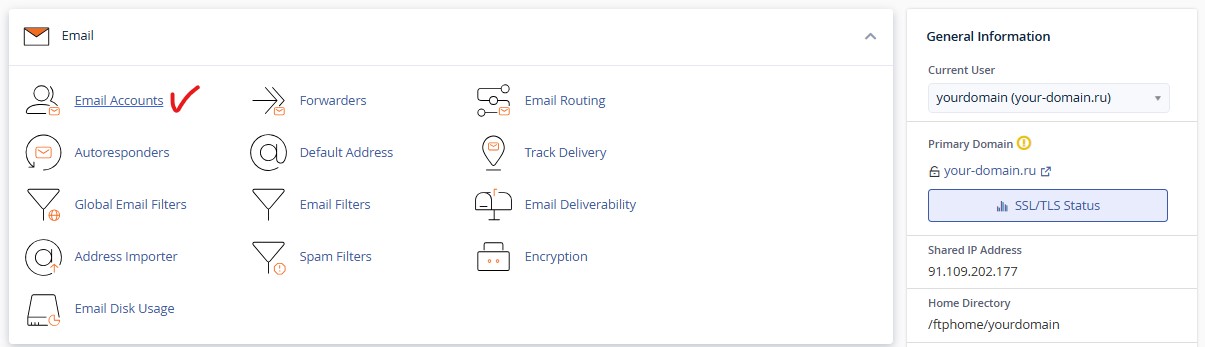
Figure 1. Email Accounts section in cPanel
Step 3: Creating a New Email Account
-
On the email accounts management page, click the
Createbutton.
Figure 2. Creating an email account
-
In the opened form, fill in the required fields:
- In the
"Username"field, enter the account name (in our example: info). - Set a strong password for the account.
- In the
-
Click the
"Create"button to complete the account creation.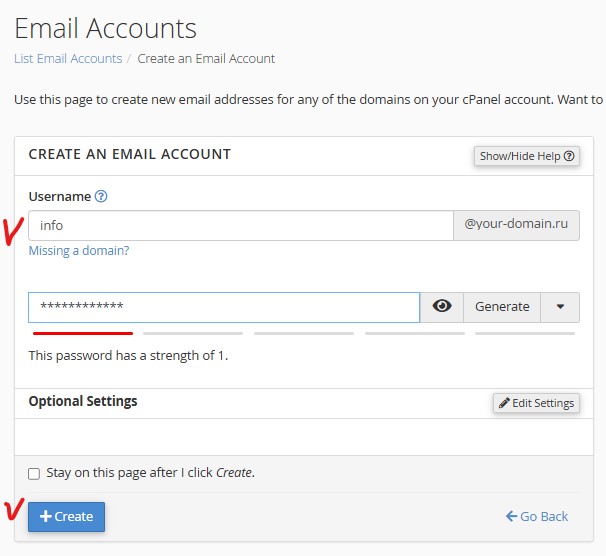
Figure 3. Email account creation form
Step 4: Accessing the Created Account
-
After successfully creating the email account, you will see it in the list of email accounts on the
"Email Accounts"management page. -
To access the webmail interface, click the
"Check Email"button next to the created account.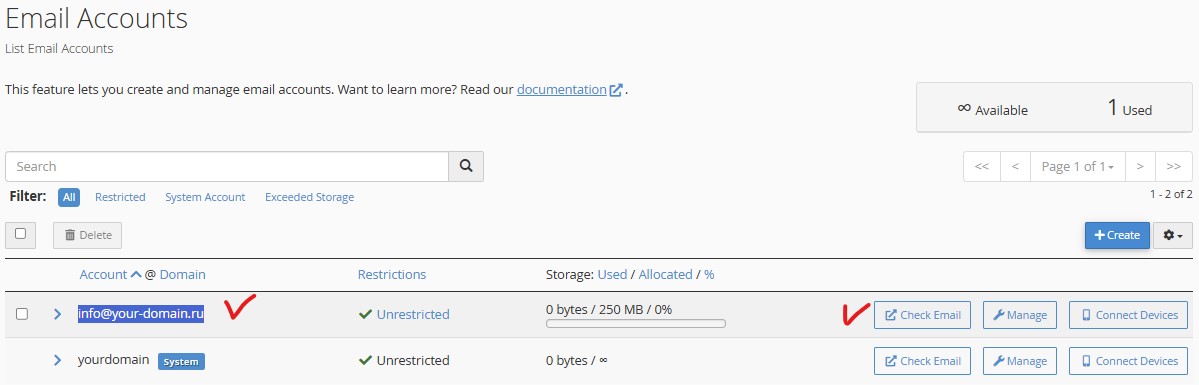
Figure 4. Check Email button for email account access
Step 5: Getting Settings for Email Clients
-
To get the settings for email clients, click the “Configure Mail Client” button in the lower left corner of the webmail interface.
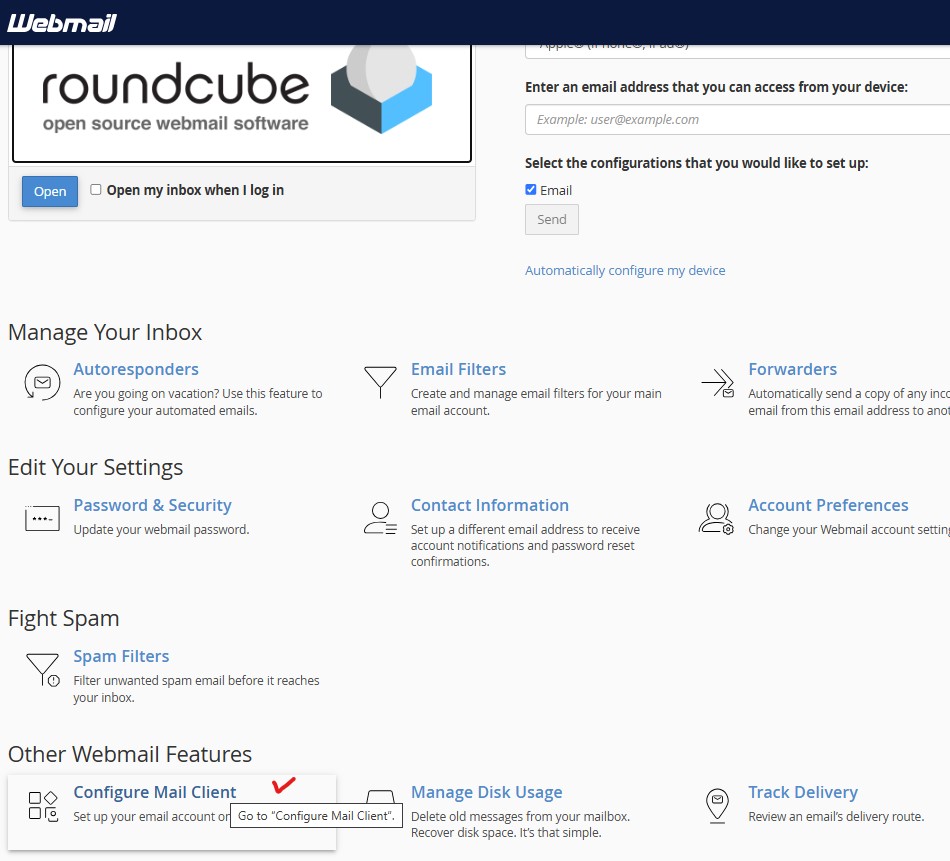
Figure 5. Configure Mail Client button
-
On the opened page, you will see all the necessary settings for connecting the email account to various email clients:

Figure 6. Settings for email clients
Basic parameters for configuration:
- Email account name:
info@your-domain.ru - Password: specified by you when creating the email account
- IMAP incoming mail server:
msk-f9.host-telecom.com(given only as an example!) - IMAP port:
993 - SMTP outgoing mail server:
msk-f9.host-telecom.com(given only as an example!) - SMTP port:
465 IMAP,POP3andSMTPrequire authentication.
- Email account name:
Step 6: Checking Mailbox Operation via Webmail Interface
-
Select the
"WEBMAIL"section. -
You will be redirected to the
ROUNDCUBEwebmail interface. -
Click the
"Open"button.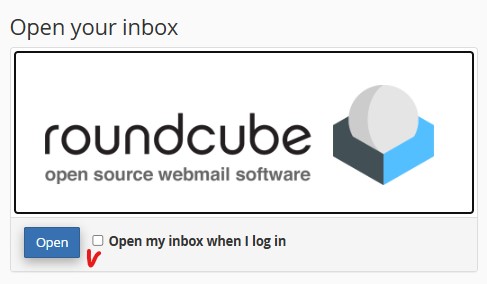
Figure 7. Access to the webmail interface
-
Log in to the email account using the created credentials
-
Check the functionality of the mailbox by sending a test email
Congratulations! You have successfully created and configured an email account on your own domain in the cPanel control panel. You can use this email account both through the ROUNDCUBE webmail interface and through configured email clients.
For instructions on setting up The Bat and Microsoft Outlook email clients, see our guides:
If you have any questions or technical difficulties, you can always contact ATLEX company support.
Additional Recommendations
- Regularly change your password to ensure security.
- Create a signature for professional formatting of your emails.
- Set up an auto-responder if you plan to be absent for a long time.

Comments